The raw and the cooked
There was a heated discussion a few years ago about how much manipulation of a digital photo is acceptable, or at least ethical. The context was the yearly nomination of the press photo of the year here in Denmark. To check that the photos had not been “doctored”, the committee demanded to see the “original”: One of the nominated photos was of a refugee camp somewhere. The “original” seemed very dark in the foreground, I assume shot like that to preserve detail in the sky. The entered photo had a very different tone balance and contrast, and also looked as if it had been run through some pseudo-HDR plugin. But it did not seem that anything was added or removed otherwise.
Yet the committee, consisting of pre-digital era photographers, decided to disqualify the photo because they felt it had been manipulated beyond the acceptable. The ensuing discussion was somewhat derailed because most of combatants were not very well versed in digital photography. One thing: the supposed “original” photo: what was that? I guess, but do not know, that it must have been the out-of-the-camera JPG, and I guess that the photographer show RAW+JPEG and used the raw version as the basis for the image he entered in the contest. Just guessing here, as the discussion did not address any of this, at least not the part of the discussion that I saw.
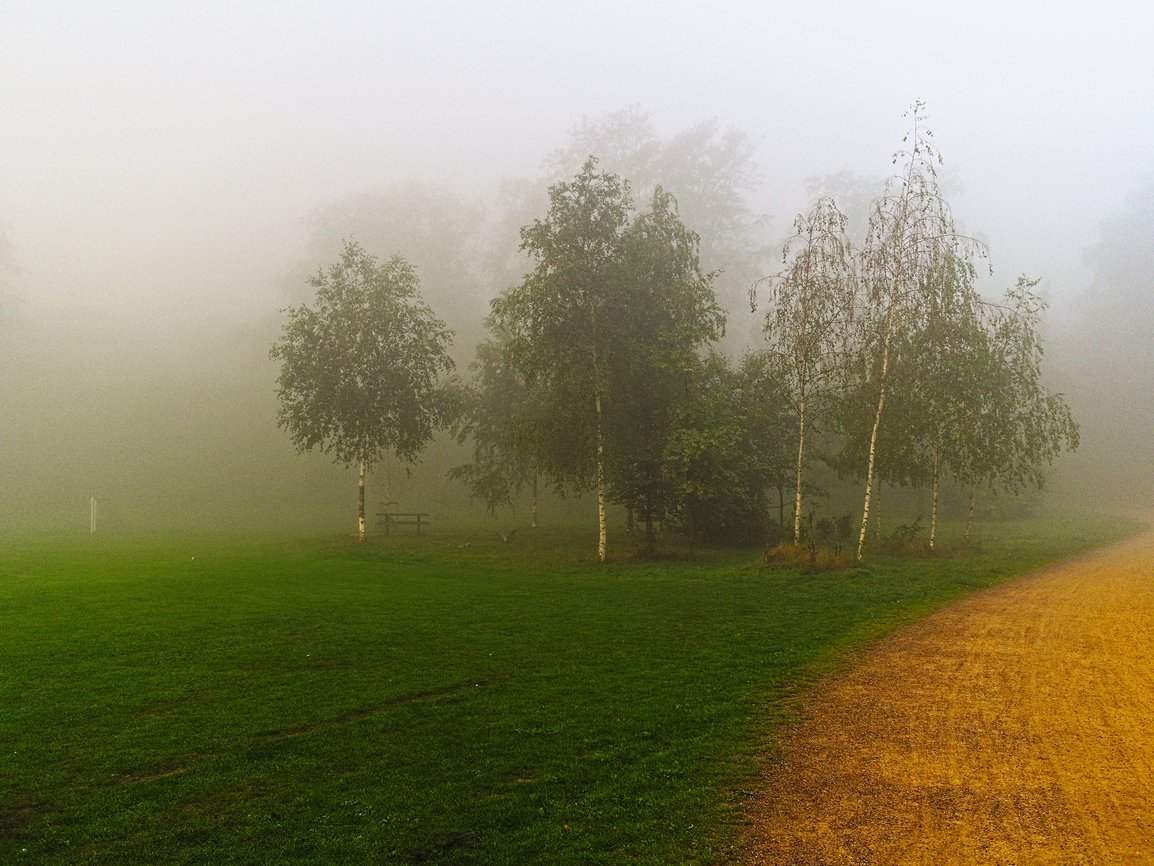
But I thought more about this recently, and decided to do a little experiment. Here is an out-of-the-camera JPG from the local park on a foggy morning:
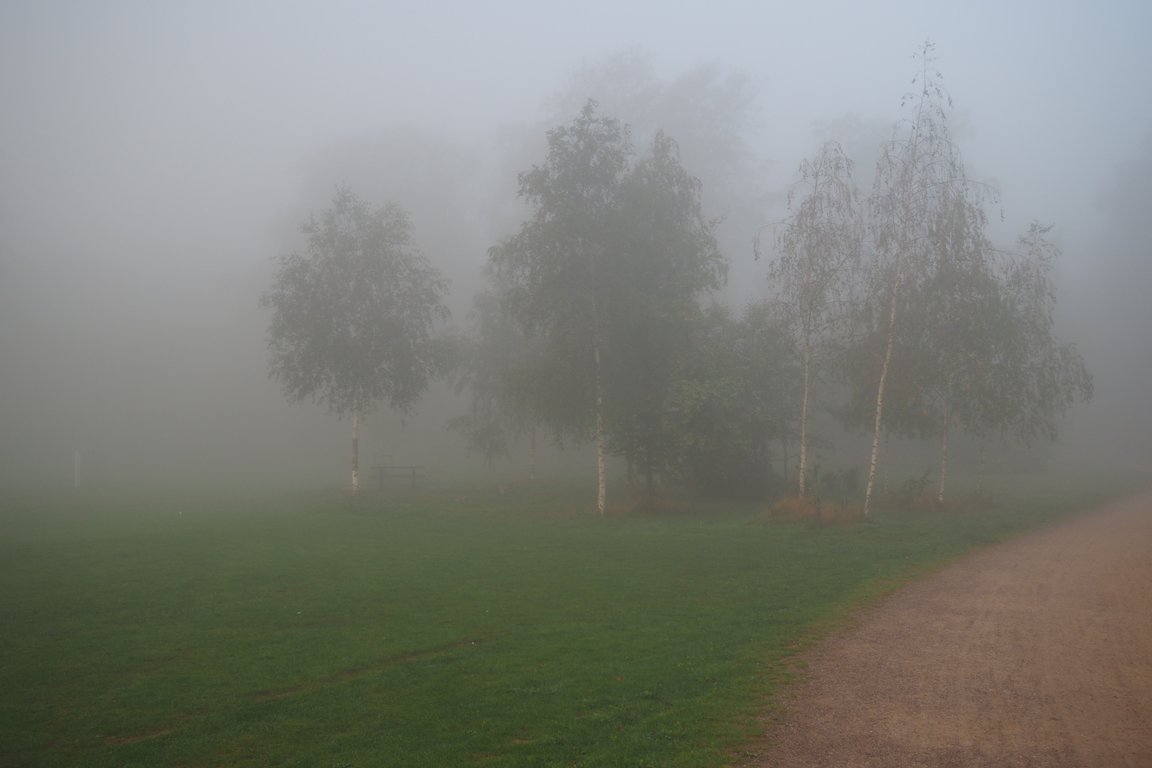
Nothing to note, except the dimensions of this JPG: 4608x3072, but then I used gThumb to downsize (as I have with all other JPGs shown here)
Now, this is the raw file in case you want to verify my next steps.
First: I load the raw file in Rawtherapee, do not touch any settings, use a neutral tone curve, and export as JPG:
It is worth noting that the dimensions of the raw file, as seen by Rawtherapee, are 4640x3472. Is this the true size of the sensor, then?
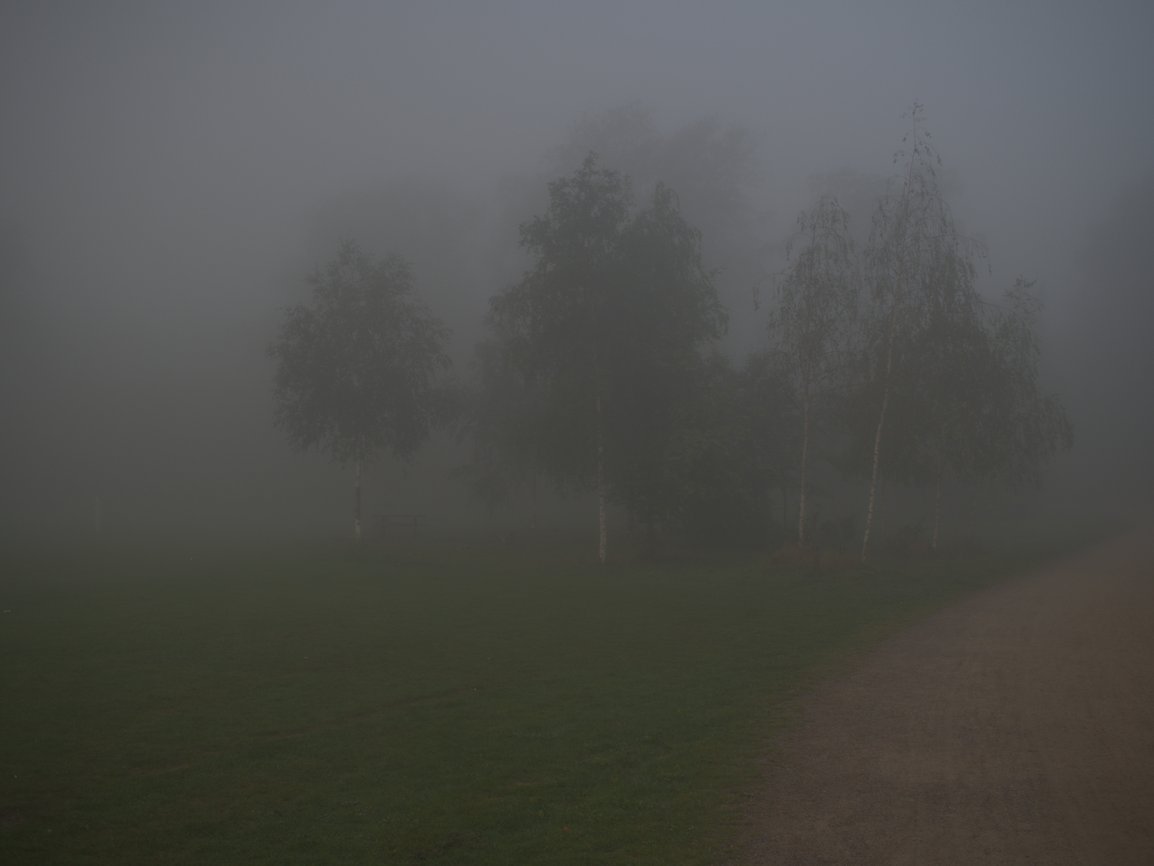
But just for fun, let us load the same raw file in darktable:
Yes: darktable was all neutral – and also had the whitepoint reading off. This is, perhaps, what the sensor really saw? it is, no doubt, closer. But is it a banana? Before this even happens, have the raw pixels not been demosaiced, and are there more than way to do that? I decided not to follow that path, mainly because my quick experiments did not show any great differences.
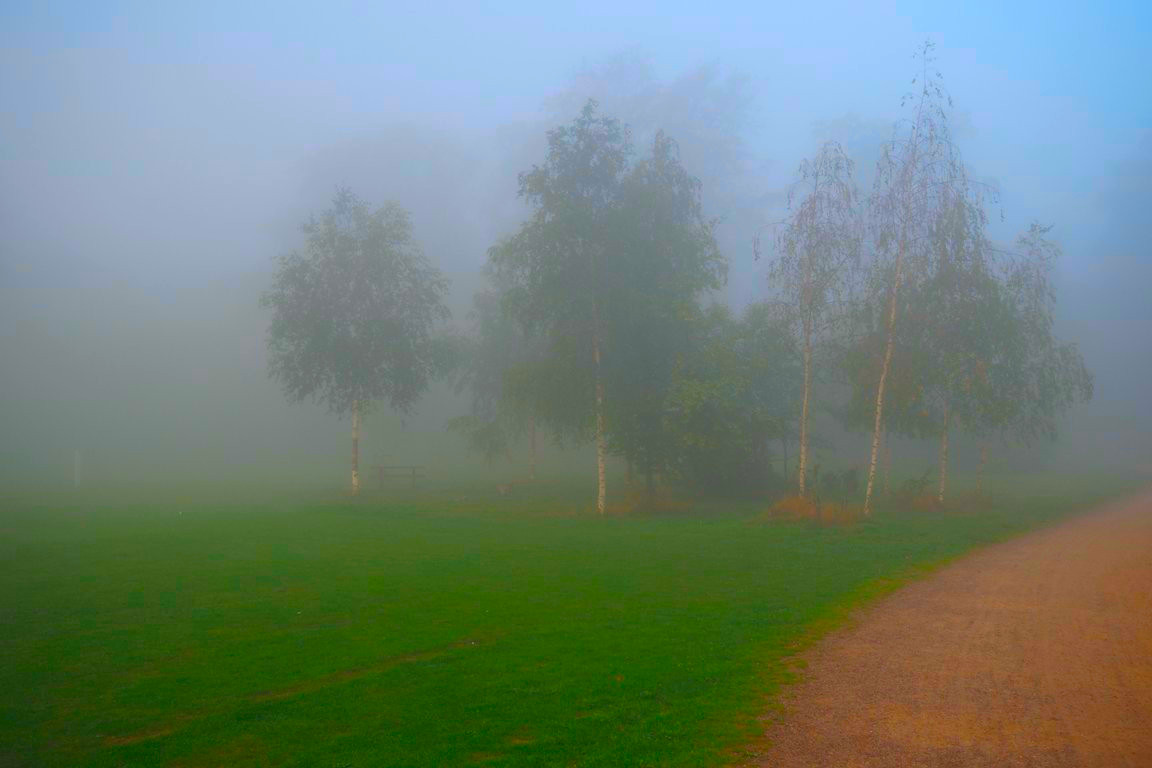
Instead, back to Rawtherapee to do a few adjustments while still in the raw domain. This is very conservative, but not all that close to the default OOC JPG:
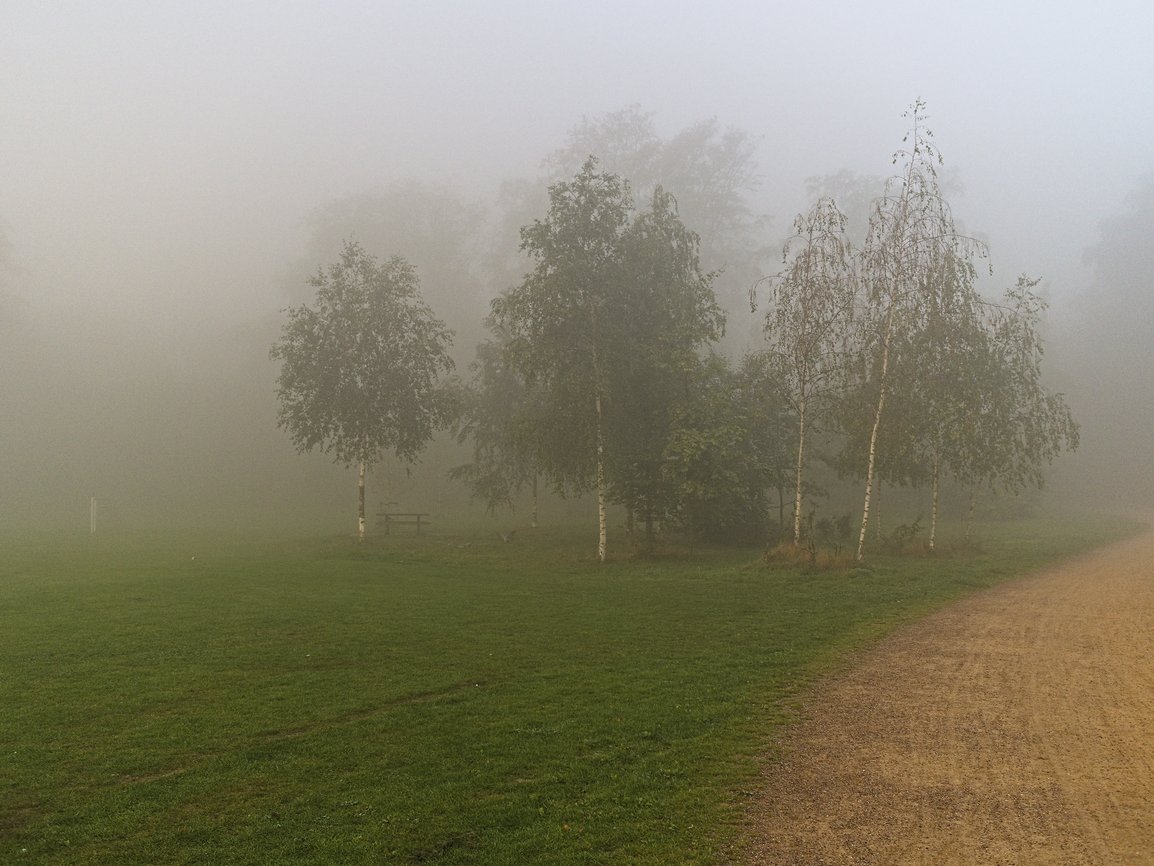
I can do something quite interesting: use CLUT to emulate same photo, but shot on Fuji Velvia (as many landscape photographers would do):
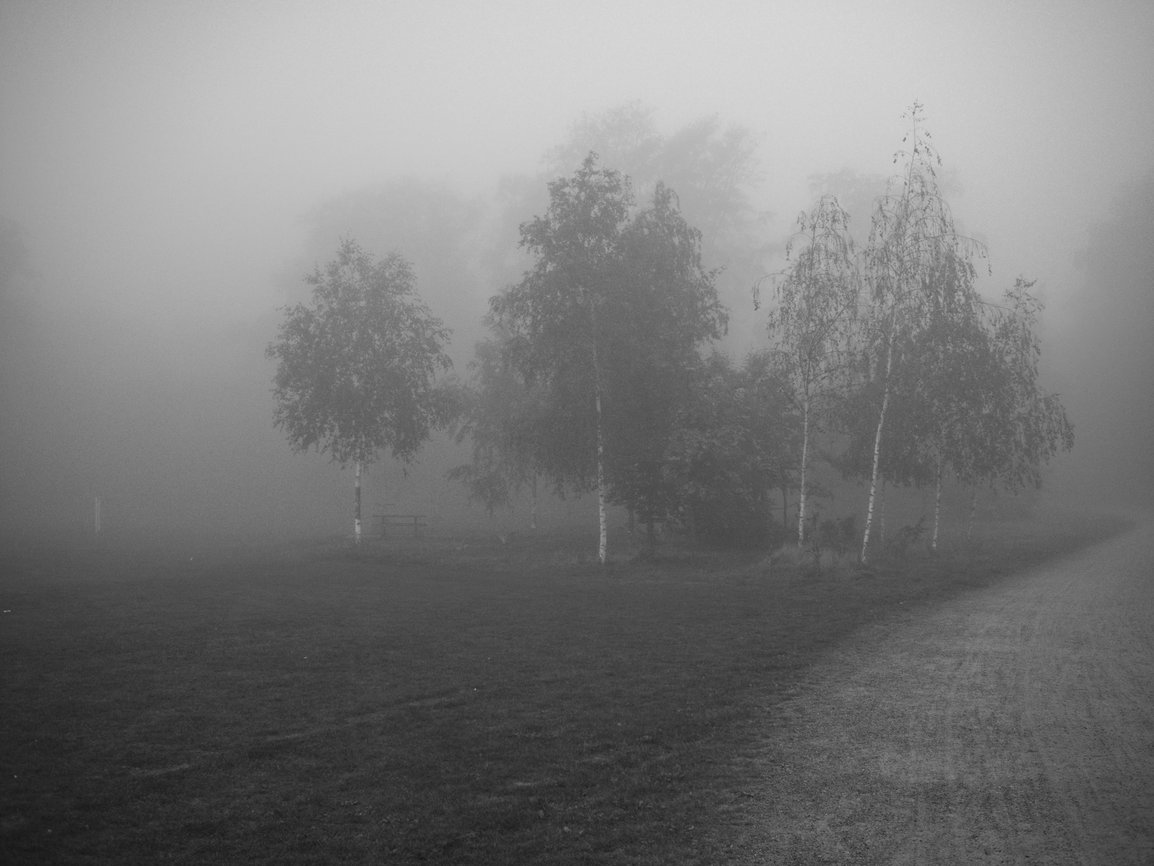
Or perhaps the photographer used Kodak Tri-X:
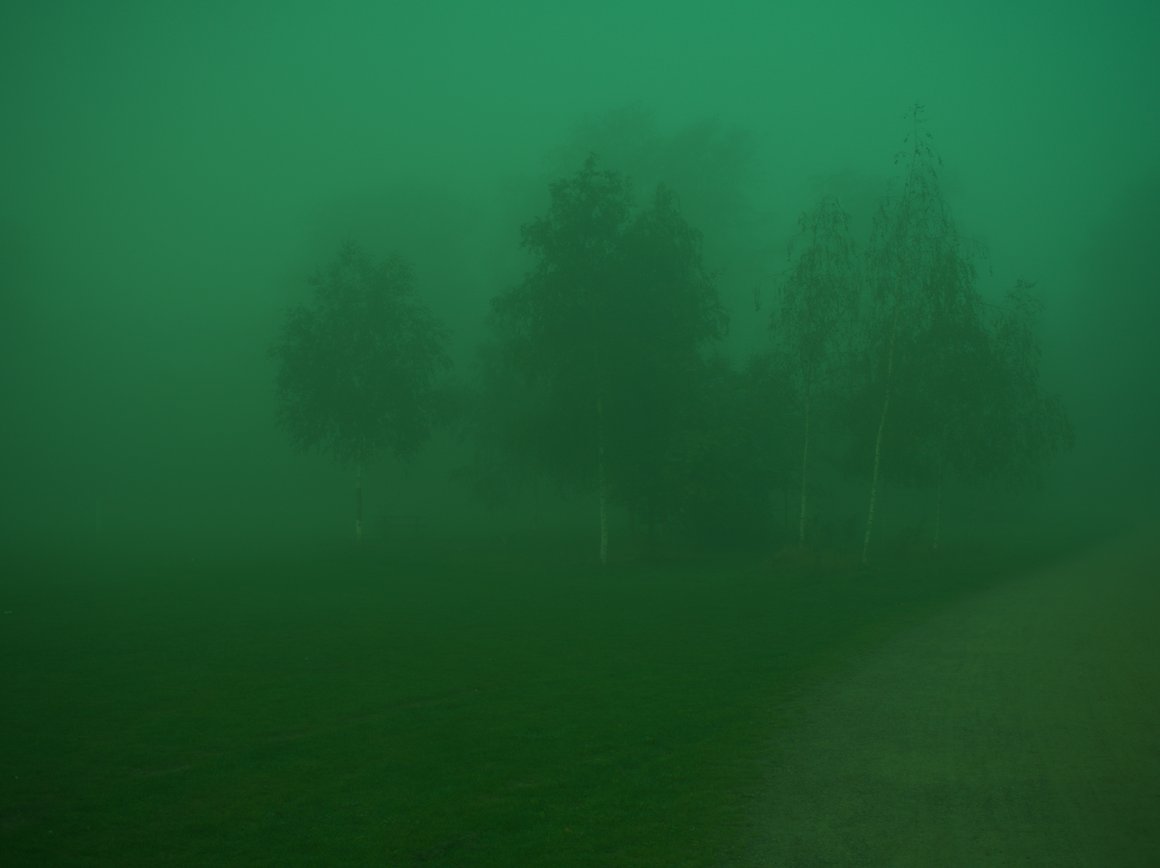
I could also load the OOC JPG in GIMP and use Dan Margulis’ Man from Mars Method to “drive colors further apart”:
None of all this has added or removed one single pixel, but the pixels that are there have been interpreted in a number of ways. Are one of these ways “truer” than all the others? Even the OOC JPG has been interpreted: I had already set my camera to use a specific profile (“Vivid”, I think).
The funny thing is: none of these images represent what I imagine I saw that morning. My camera and its lens are just too good at seeing through the fog. It actually looked more like this:
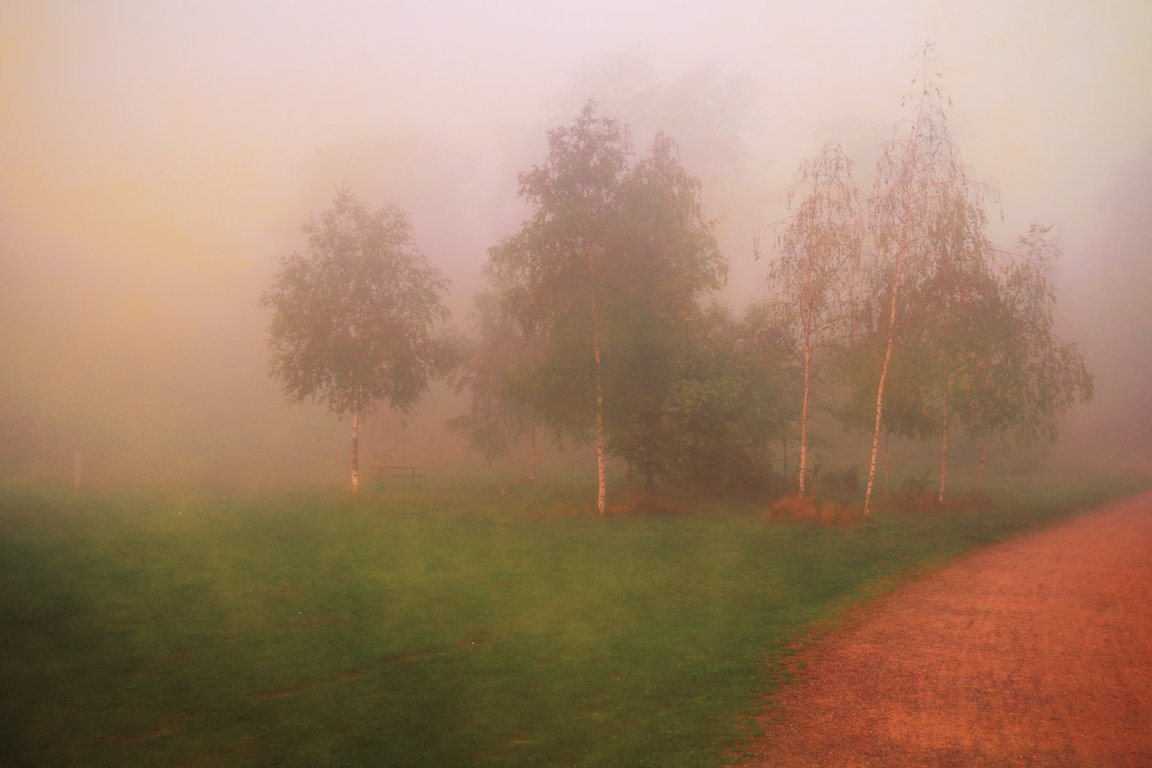
But here I have actually added and removed pixels by using the “Foggy” filter in GIMP.